How Do I Add My Logo & Brand Colors to HubSpot
Your company’s logo and brand colors come under the branding option of HubSpot. You can effectively customize your branding. Branding will apply changes to your branding settings to all users in your account who create scheduling pages, documents, quotes, payment links, and other content.
In your chat channel settings, you can change the color of the default chat widget. You can also change each bot’s company name, which will appear as the bot’s chat heading.
Therefore, to customize your company logo:
- Click the settings icon in the main navigation bar of your HubSpot account.
- Select Account defaults from the left sidebar menu.
- Select the Branding option.
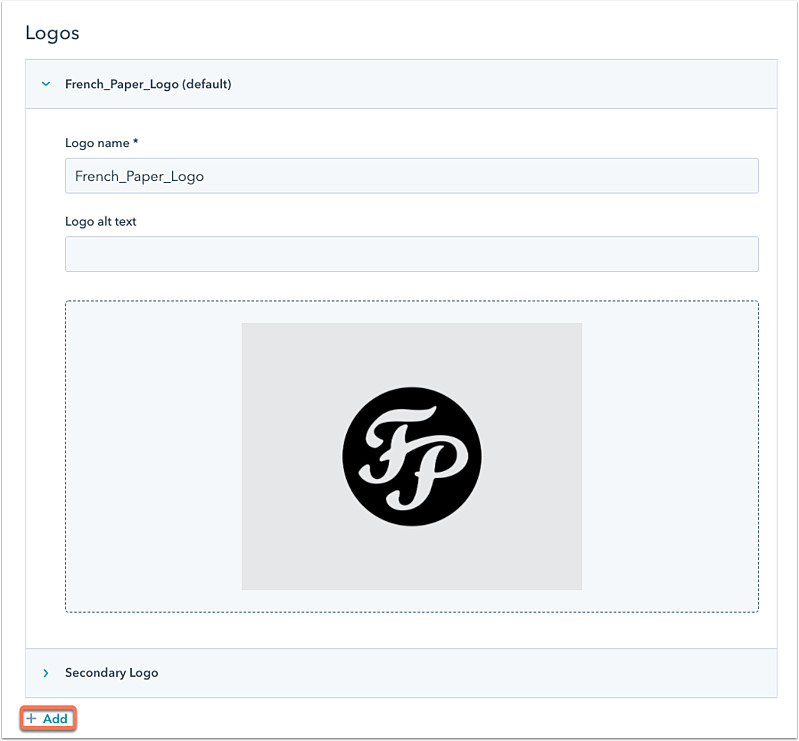
- To add a company logo, click + Add in the Logos section. Before applying uploaded images to your sales tools, HubSpot will resize them.
- To make a logo the default, hover over it, click Actions, then Make default. The default logo will appear on scheduling pages, sales documents, and quotes.
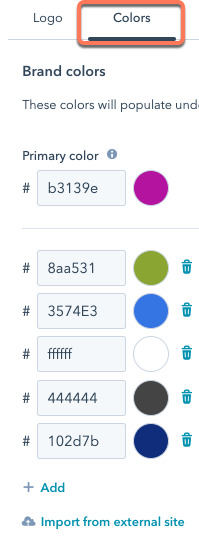
- Click on the colors tab to select your branding colors.
- Enter a hexadecimal value or use the color picker to select your primary color. The primary color will appear on scheduling pages, new quotes, and new conversation channels.
- Click + Add to add more colors.
You can also import your brand colors from your website. This can be useful if you don’t know the hexadecimal values of your brand’s colors.
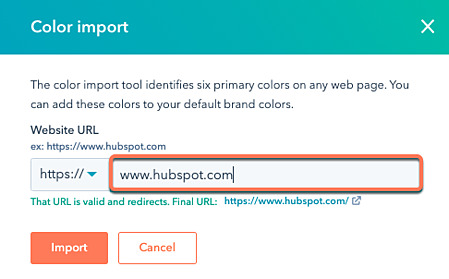
- Click Import from an external site to import your brand colors from your website.
- Enter your website URL in the Website URL field and click Import.
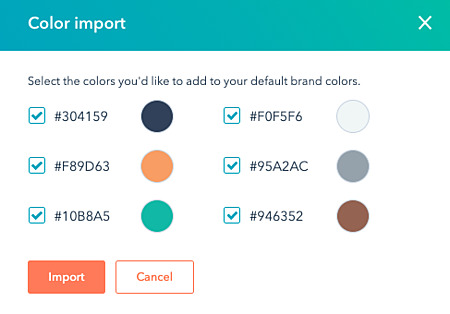
- Click Import after selecting the checkboxes next to the colors you want to import.
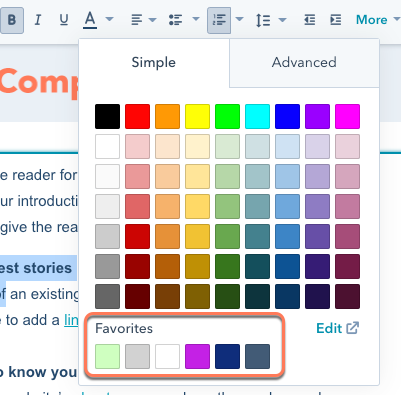
Try again with a different page if you run into any problems while scanning your website. You can access your brand colors from the content editor once you’ve set them up. Your brand colors will appear under Favorites when you view the color picker.

