Can I create a workflow in MakeWebBetter Connect?
Yes, you can create custom workflows from scratch or by using templates. Custom workflows allow you to define triggers and actions for seamless automation across integrated apps.
Let’s learn how to create a custom workflow using the example below. This example will demonstrate how you integrate your Google Contacts with HubSpot and receive the event notifications on Slack.
- In your MakeWebBetter Connect account, navigate to the Workflows page.
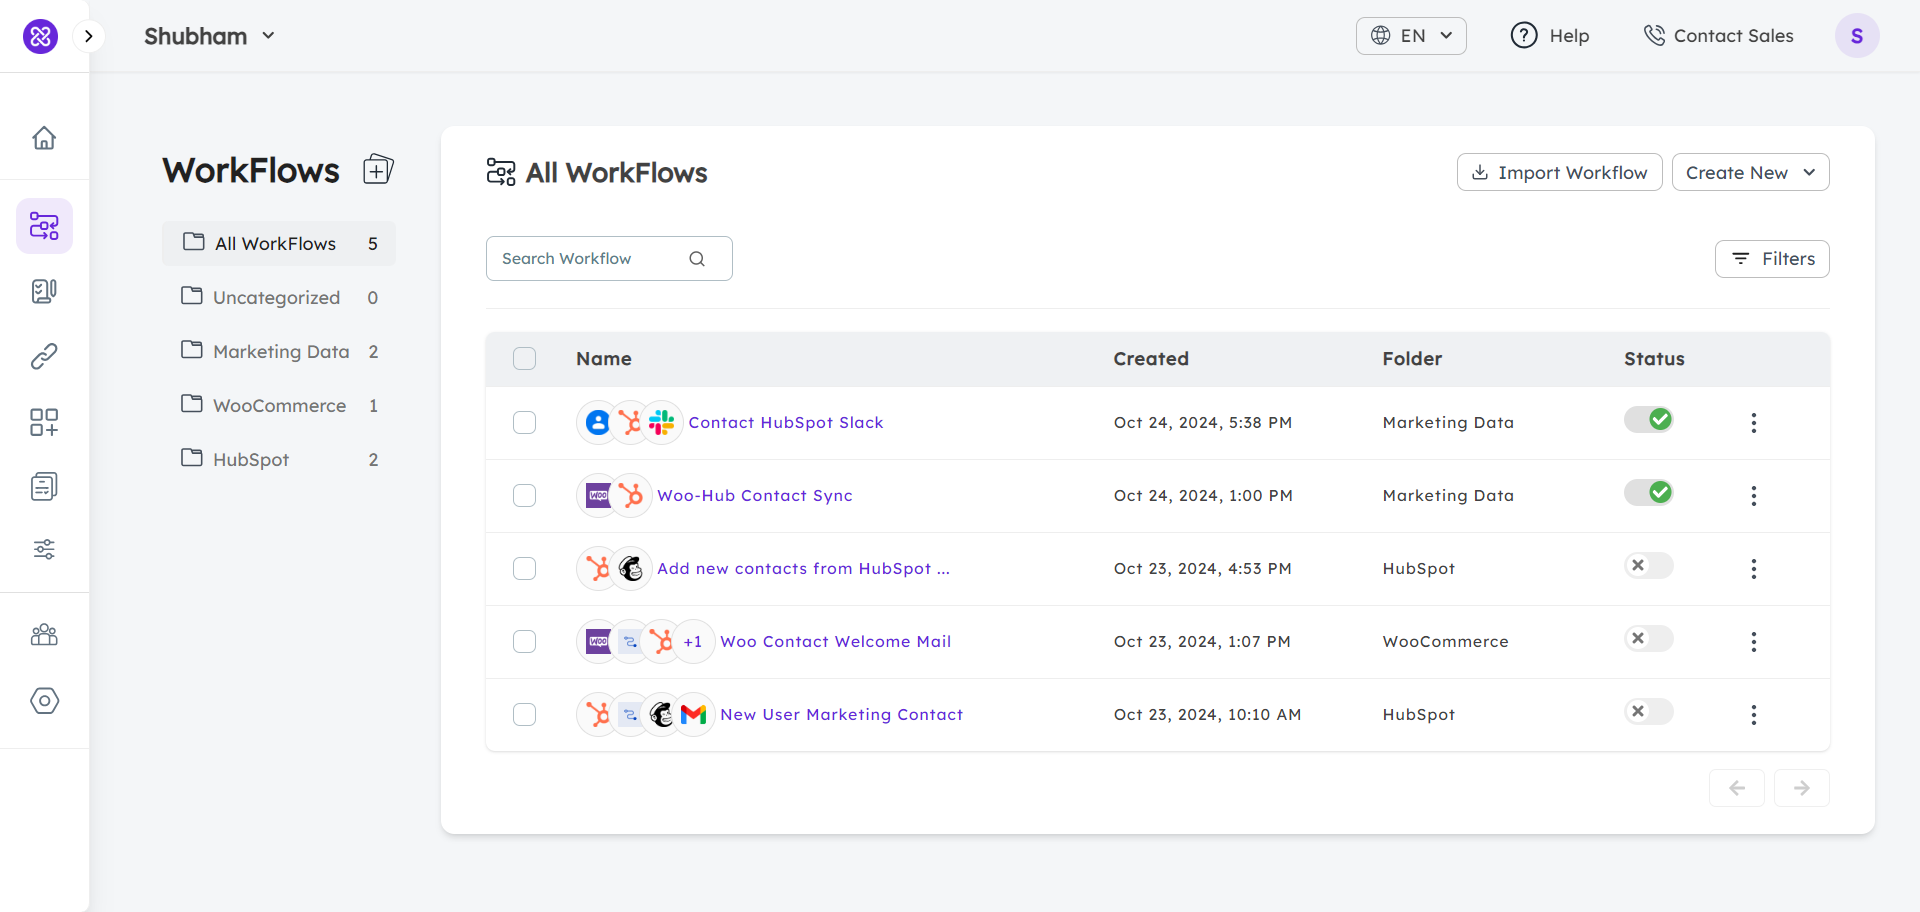
- Then click Create New in the top right corner and select From Scratch.
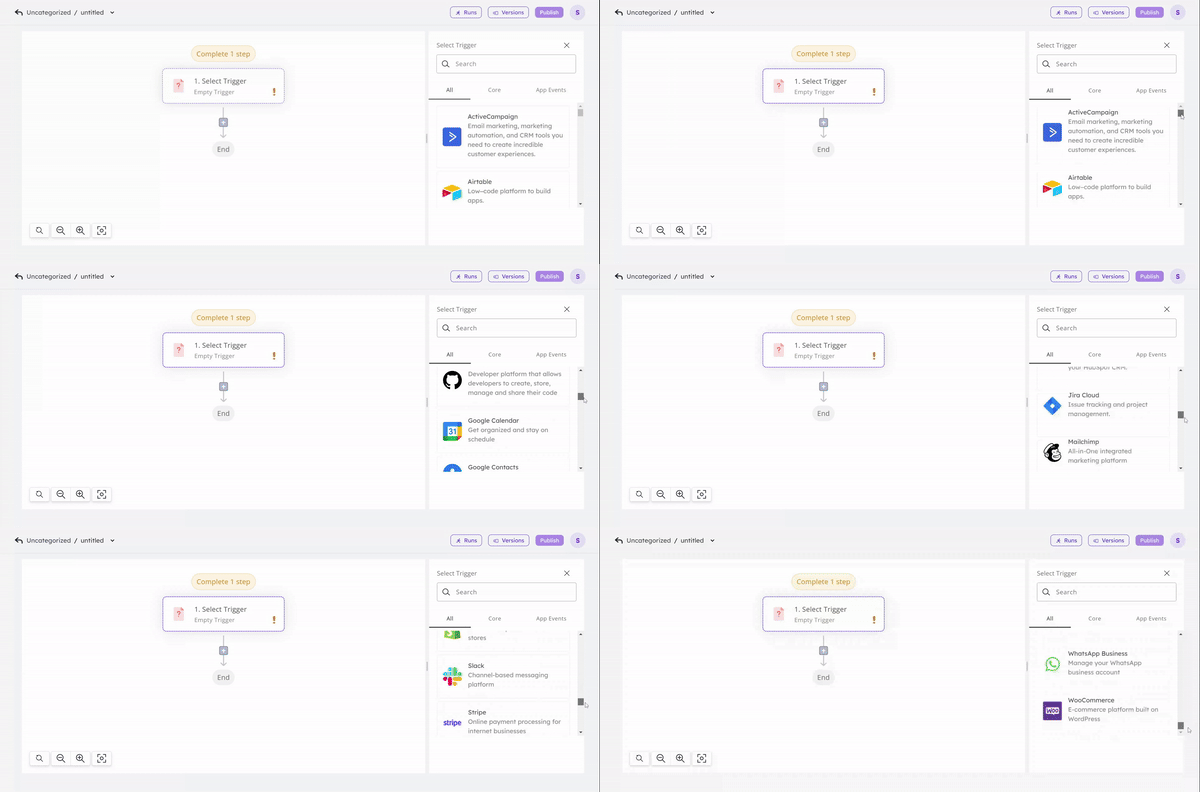
- The first step is to select a trigger. Click Select Trigger (e.g., Google Contact) and choose the desired App Event (e.g., new contact created).
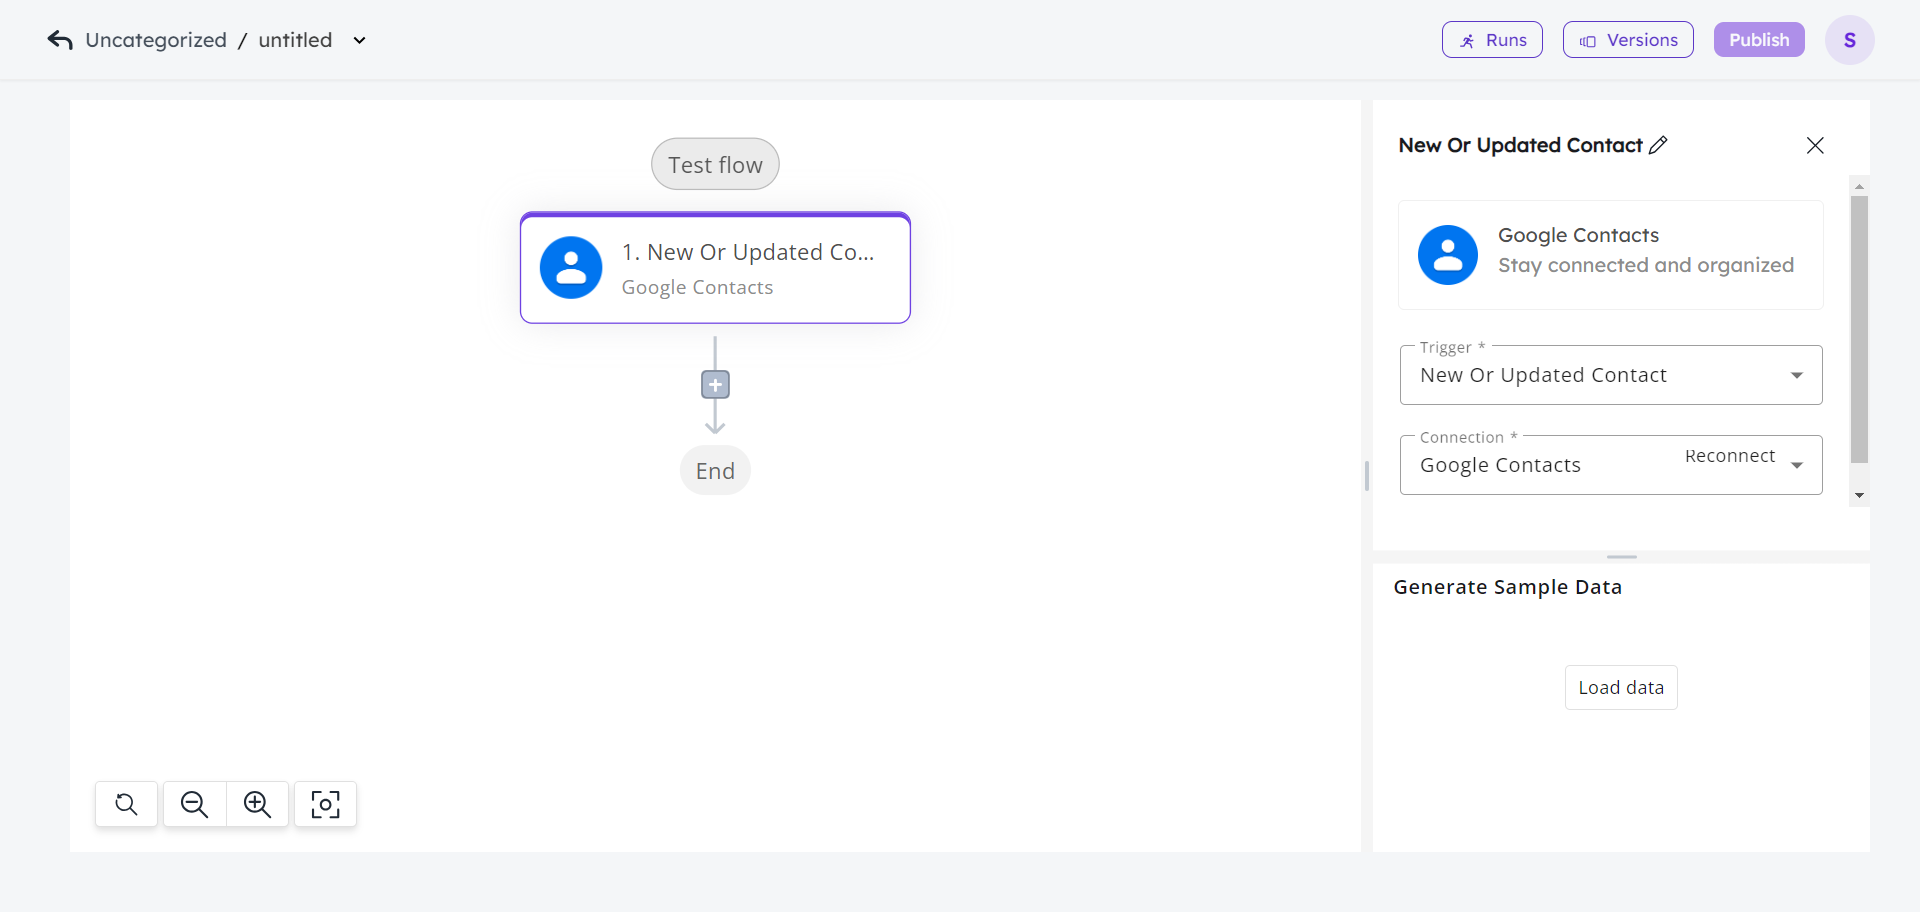
- In this case, connecting Google Contacts account will be required. For this, select the Connection > New Connection. You can either opt for authentication via MWB official app or enter your own app credentials. (If you have already made connection with Google Contacts, then you can choose the connection name from the drop-down in the Connection field.)

- After connecting the app, you can generate sample data to test the connection or use existing contact records from your account.
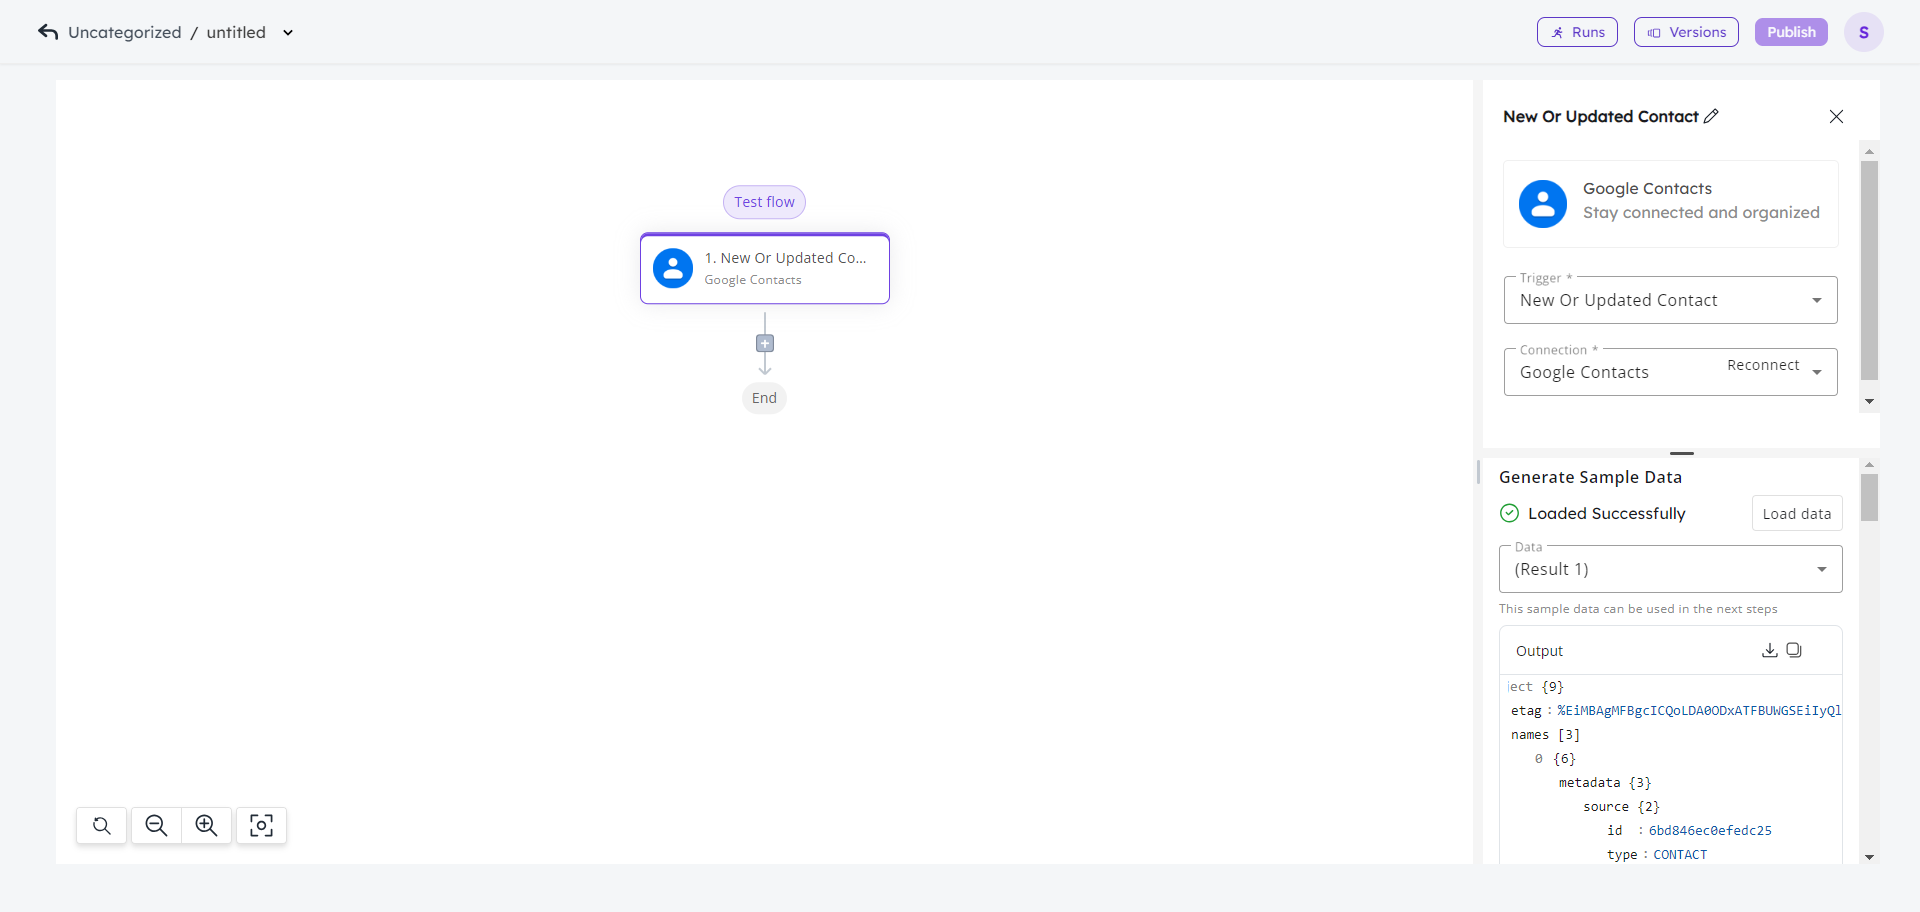
- The sample data generated can be viewed on the same page.
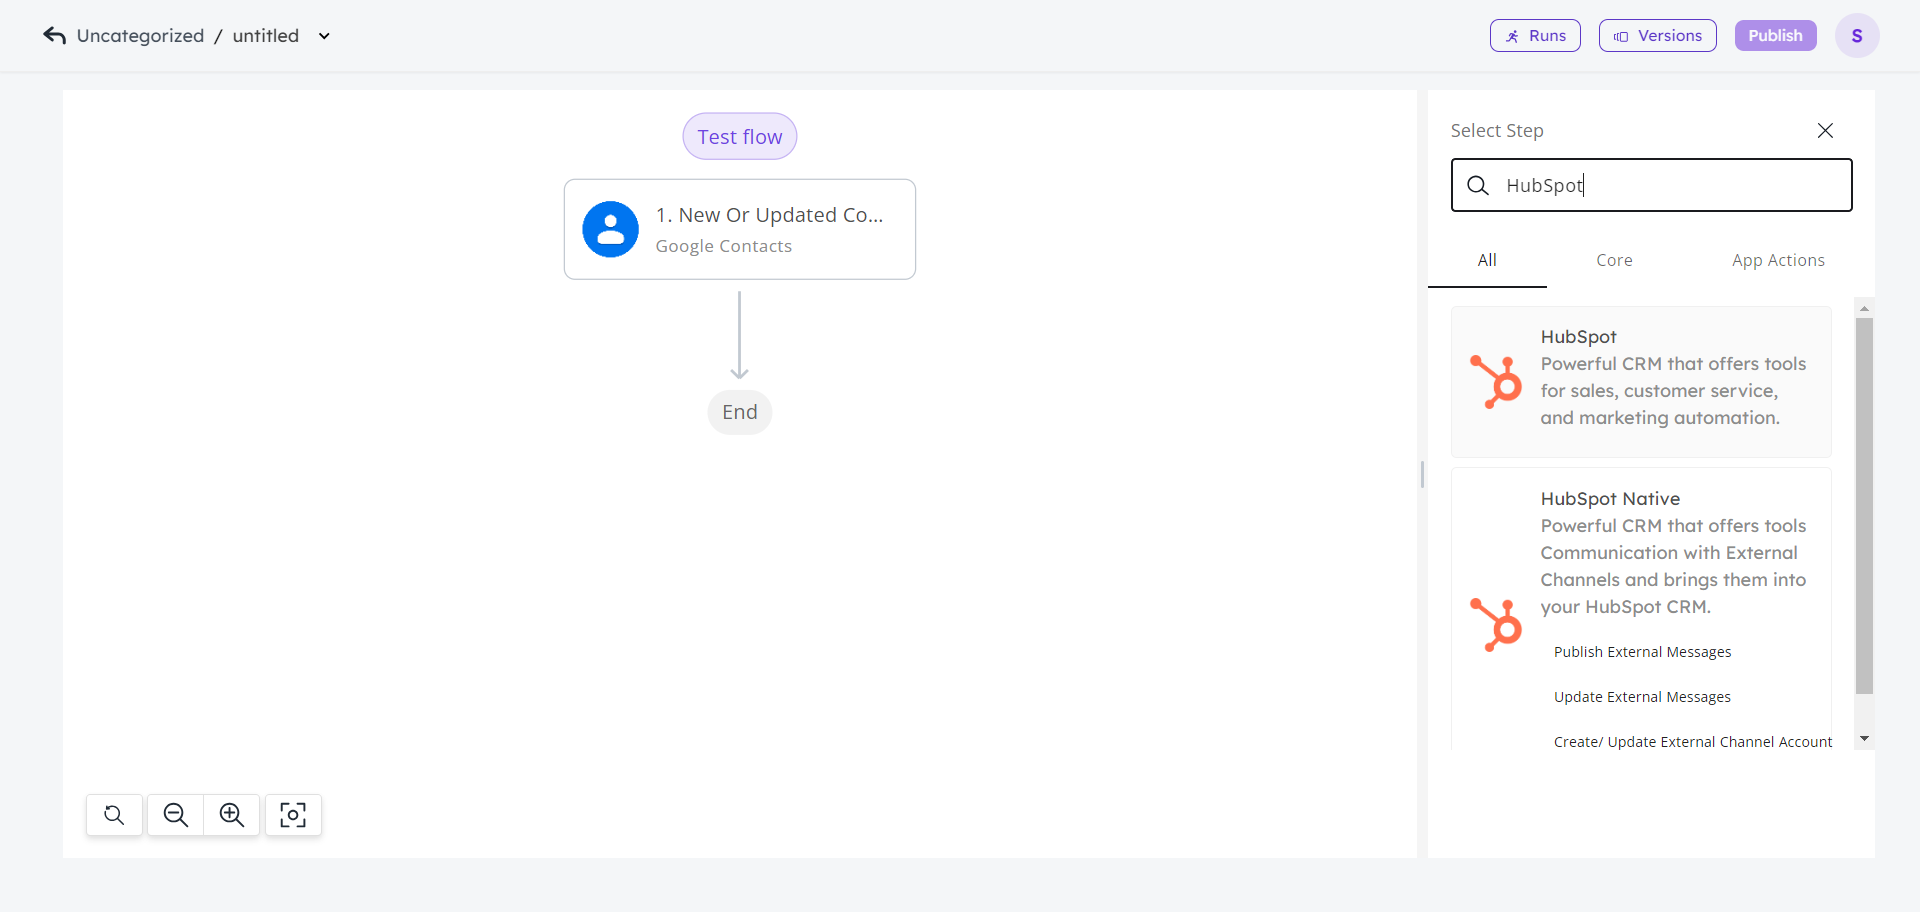
- The next step would be to assign an action. For this, click on Plus (+) icon under the Trigger. And search for desired app (e.g., HubSpot).
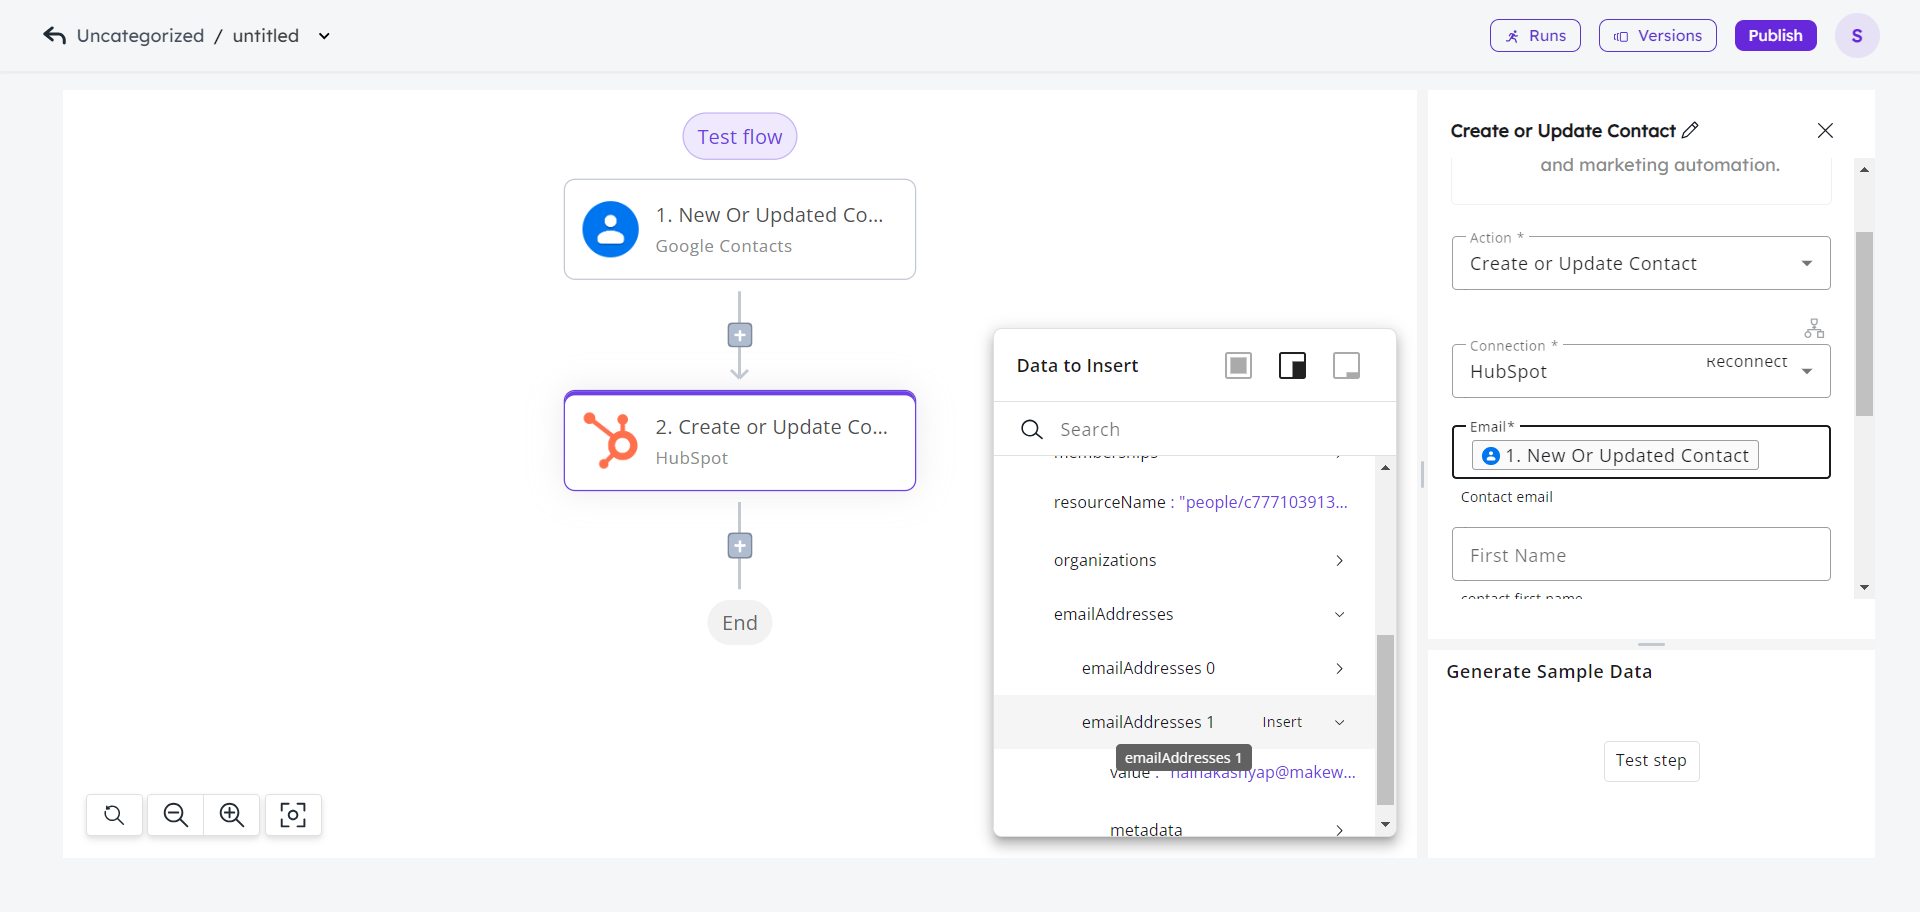
- Select Create or Update Contact action. Choose the contact fields (e.g., email, first name, last name) that you want to sync from Google Contacts.
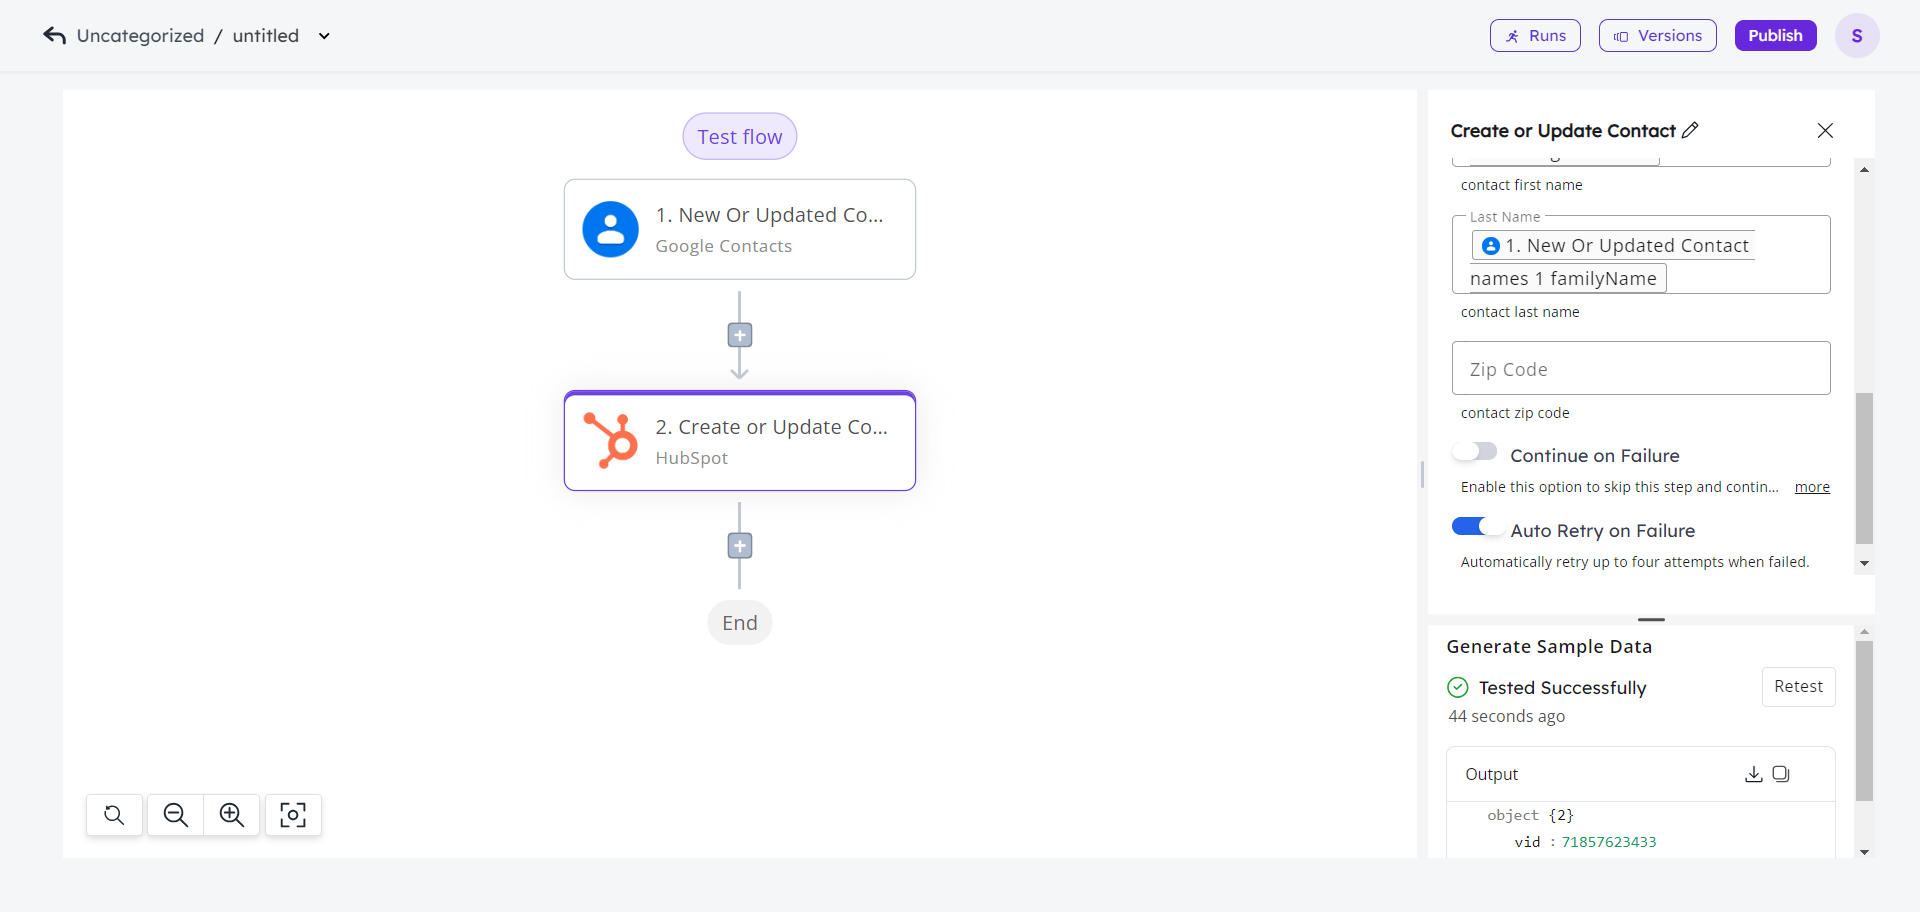
- There’s also an option to enable Auto Retry on Failure. This helps prevent minor system interruptions to cause run errors. You also have the option to test the entire workflow so far, by clicking on the Test at the center top of the page.
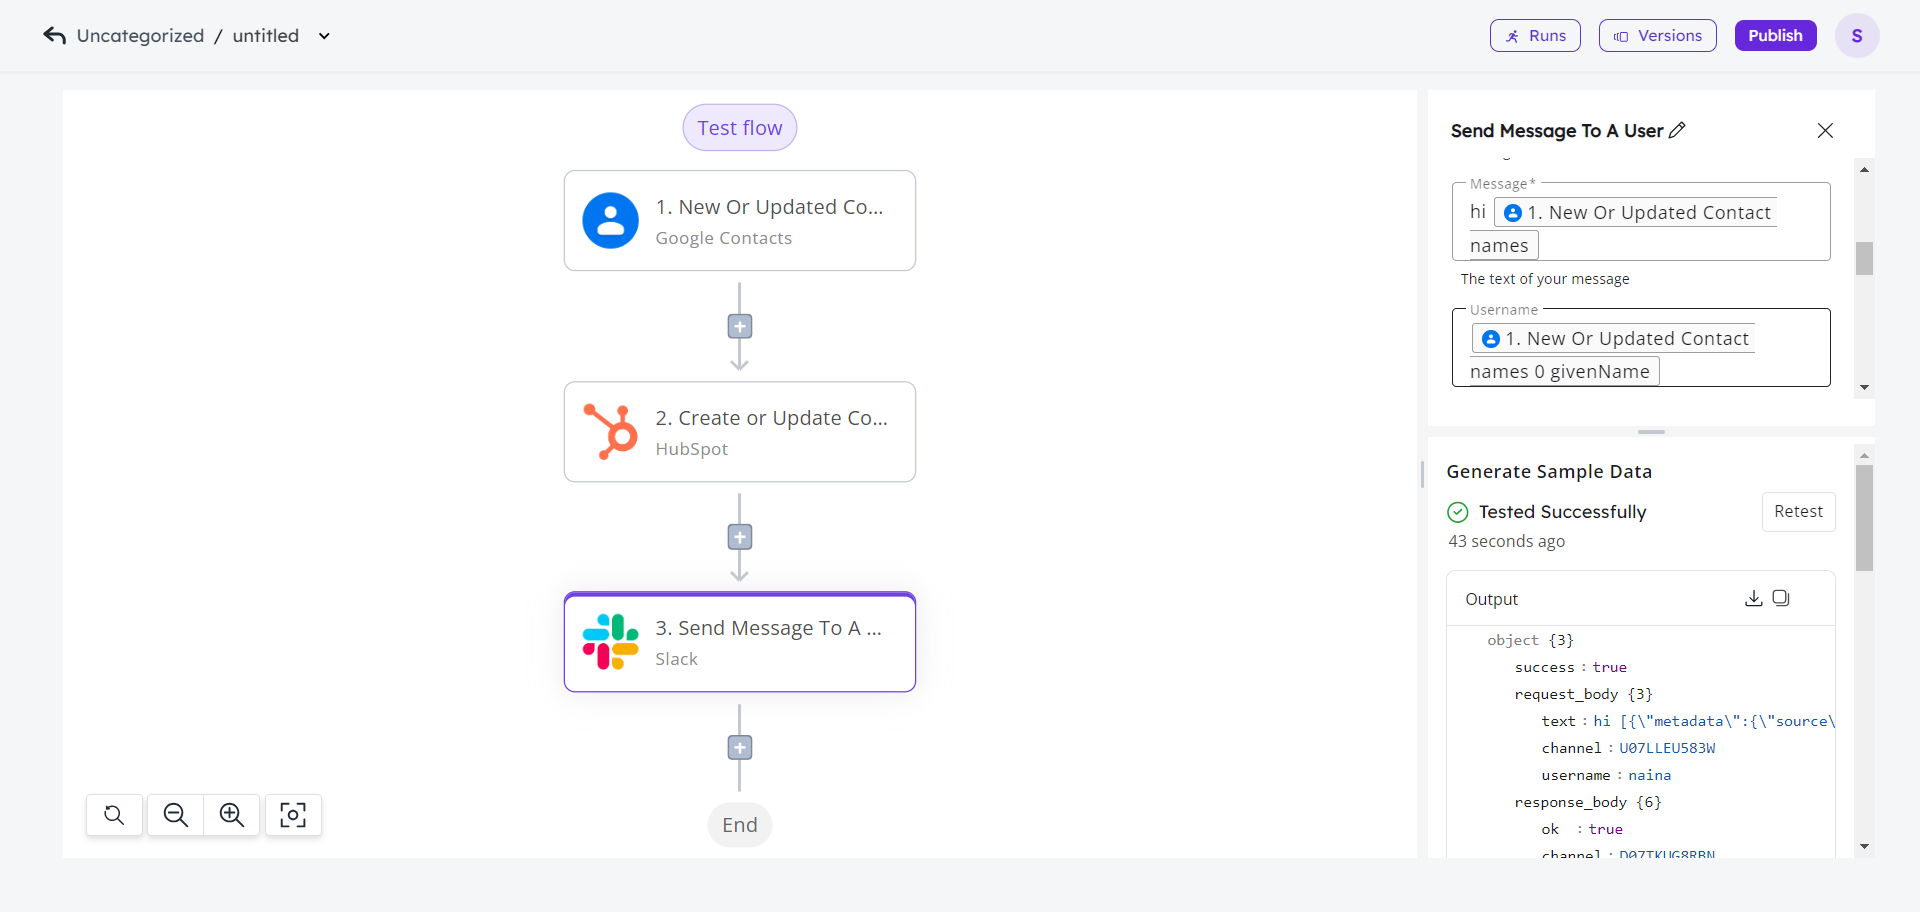
- You can add as many actions you need. For example, if you need to send a message in Slack channel on a successful Create or Update Contact via HubSpot connector in the last step, add the Finish the workflow setup by connecting your Slack connector. Now, select the desired action and connect your Slack account using your app credentials.
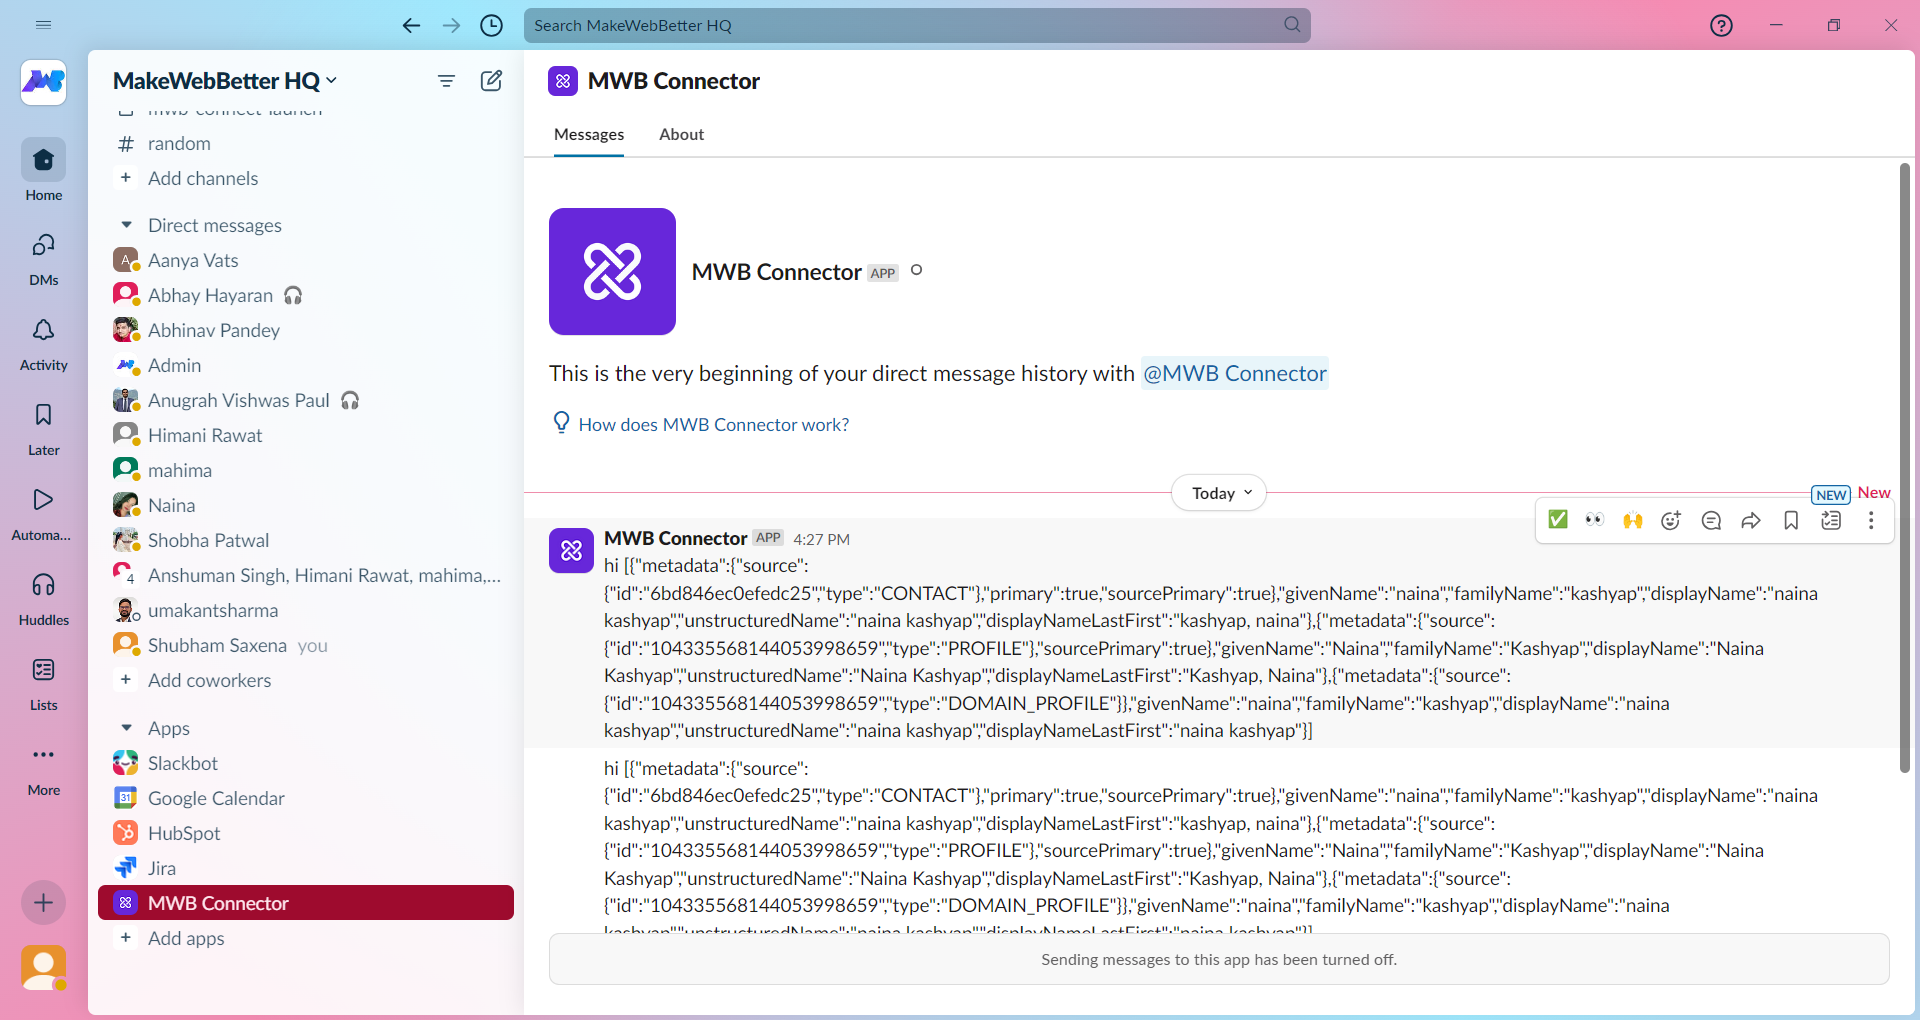
- Finally, click Publish. The workflow will be autosaved and can be accessed from the All Workflows page.

